Some of the links shared in this post are affiliate links. If you click on the link and make a purchase, we will receive an affiliate commission at no additional cost to you.
In this tutorial, I’ll explain how to make your services available on the Internet, outside your home network, on your Unraid, or indeed any other server that supports Docker. If you don’t have a static IP, you need a dynamic subdomain, with DuckDNS: Create a free subdomain on Unraid
To make your services available via NginxProxyManager you need a public IP address, DSL Lite does not work here. If your internet connection does not have a public IP address you can make your services publicly available using Cloudflare Tunnel.
Of course you also need a container that you want to share, in this example I use Nextcloud.
Install and configure Nginx Proxy Manager
In the “Apps” tab, simply search for “NginxProxyManager” and click Install. If the “Apps” tab does not appear, the Community Applications plugin is not yet installed.
The default ports can usually be left as they are, unless the ports are already in use by other containers.
Port forwarding
After installation, you need to share the http and https port previously set in the Docker container configuration on your network. With the default port settings of the container, you need to forward the external port 443 to the internal port 18443 for https and the external port 80 to the internal port 1880 for http.Requests to your IP address on port 443 and 80 will thus be forwarded to the NginxProxyManager on port 18443 and 1880.
If everything is set up correctly, you can enter your External IP address into the browser. When you open it in the browser you should see the following page:
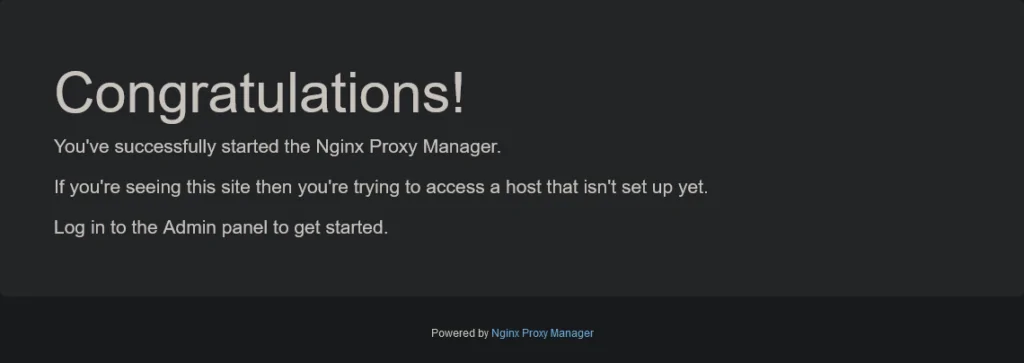
Nginx Proxy Manager Initial Login
After you have installed the Nginx Proxy Manager and enabled the ports you can now access the web interface. When you first open it, you will be greeted by a login screen.
With the following credentials you can log in to the web interface:
Email: admin@example.com
Passwort: changeme
After that you will be asked to change your data.
Add proxy host
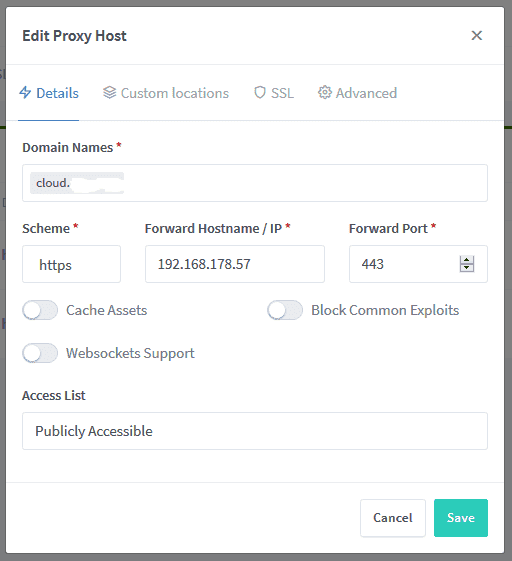
After you have changed your credentials, you will land on the dashboard. Here you click on “Proxy Hosts” and then on “Add Proxy Hosts”.
At “Domain Names” you enter your domain, e.g. your full subdomain of DuckDNS or your own domain. At “Forward Hostname / IP” you enter the IP of your service which should be released. Usually this is the IP address of your Unraid server. Under Port you enter the exact port of the service. For Nextcloud this would be e.g. 443.
It is recommended to enable the option “Block Common Exploits”, this adds another layer of protection. If the SSH access is to be used by services such as Portainer, the “Websockets Support” must be enabled.
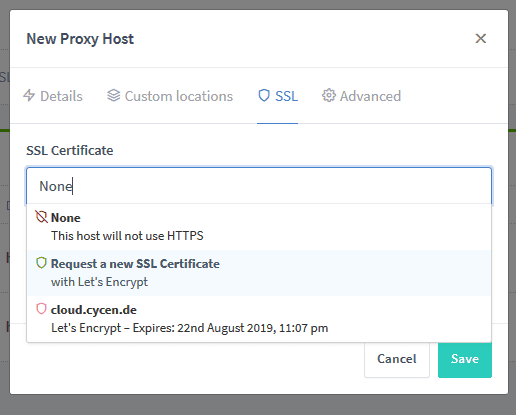
Encrypt connection with SSL
To encrypt the connection now, so that your data is also secure, simply click on the tab “SSL” and select “Request a new SSL Zertifacate” and then click on Save. Now the desired service should be accessible under the respective domain.