Some of the links shared in this post are affiliate links. If you click on the link and make a purchase, we will receive an affiliate commission at no additional cost to you.
Configuring a DNS server on your Synology router, such as the RT2600ac, can give you more control over your Internet connection. Changing the DNS servers helps to protect your privacy, improve internet speed or filter inappropriate content. In this guide, we will show you how to change the DNS servers on your Synology router.
Synology router models
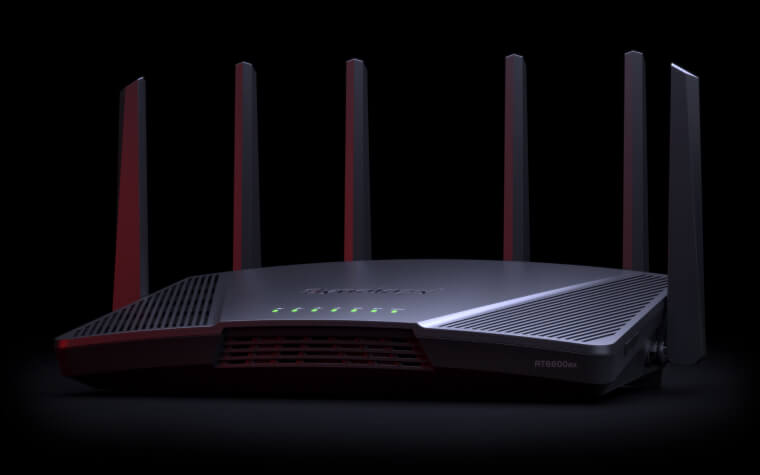
Current models
- RT6600axPolylang
- RT2600acPolylang
- MR2200acPolylang
Earlier models
- RT1900acPolylang
- RT2600acPolylang
- MR2200acPolylang
Legacy models
- RT-N12
- RT-N66U
- RT-N65U
- RT-N56U
What is a DNS server?
A DNS server (Domain Name System) is responsible for converting web addresses such as “google.com” into IP addresses that computers can understand. By default, most routers use your internet service provider’s DNS server. However, you can use alternative DNS servers that offer faster response times, more data protection or special filter functions.
Why should you change the DNS servers?
Changing the DNS server can offer you several advantages:
- Better privacy: Prevent your internet provider from monitoring your activities via DNS queries.
- Faster surfing: Some DNS servers offer faster response times, which can lead to a better internet connection.
- Content filter: With DNS servers, you can block offensive content and create a safer surfing environment, especially for children.
Here is a DNS server list with a selection of DNS servers, also with filters.
How to change the DNS servers on a Synology router
Follow these steps to change the DNS servers of your Synology RT2600ac router:
1. log in to the Synology router
- Open a web browser and enter the IP address of your router in the address bar (default IP:
192.168.1.1orrouter.synology.com). - Log in to the router with your administrator account and password.
2. call up the network settings
- Click on Network Center in the router interface.
- Select the Internet option in the left-hand menu.
3. change DNS settings
- Go to the IPv4 or IPv6 tab (depending on your network).
- Here you will find the DNS server settings. The DNS server of your internet provider is used by default.
4. specify DNS server manually
- Select the Set manually option.
- Enter the IP addresses of the DNS service you want to use in the Primary DNS and Secondary DNS fields.
5. save changes
- Once you have entered the desired DNS addresses, click on Apply.
Checking the DNS configuration
To ensure that the new DNS servers are working, you can perform the following steps:
- Check the connection: Open any website and make sure your internet connection is working.
- Check DNS servers: You can use tools like dnsleaktest.com to check which DNS servers are currently in use. This will show you whether the change was successful.
Changing the DNS servers on your Synology router is a simple but effective way to improve control over your Internet connection. Whether you want faster browsing, more privacy or to block content, customizing the DNS servers gives you the flexibility to tailor your network to your needs.
