Some of the links shared in this post are affiliate links. If you click on the link and make a purchase, we will receive an affiliate commission at no additional cost to you.
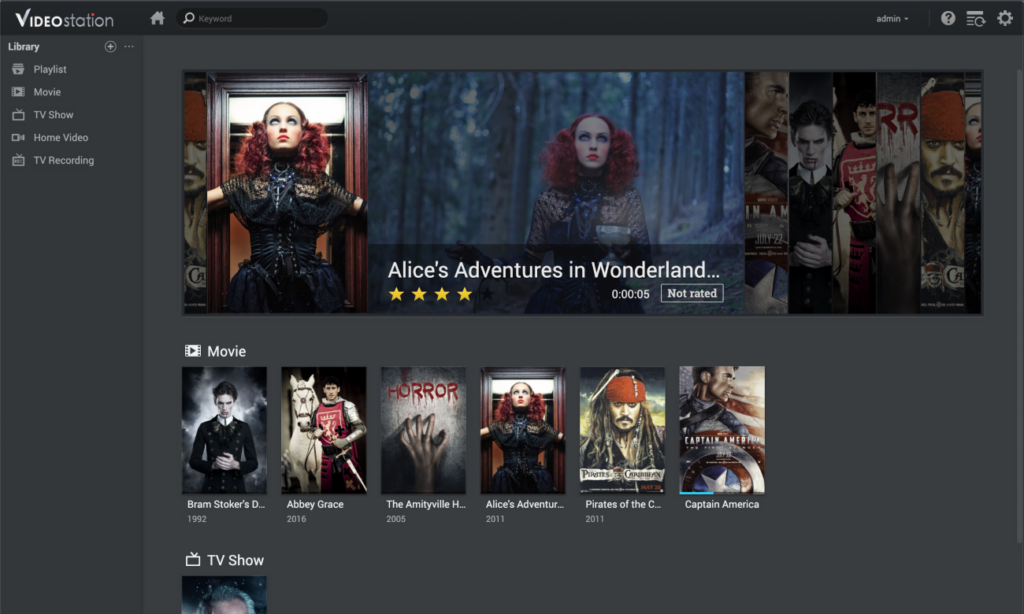
With the latest version of Synology DiskStation Manager (DSM) 7.2.2, Synology has removed the popular “Video Station” application. Many users are disappointed because they rely on Video Station’s versatile features to manage and play their media. Fortunately, there is a way to bring Video Station back to DSM 7.2.2 with a special script provided on GitHub.
What is the Video Station Script?
The script from GitHub user 007revad is a simple solution to reinstall Video Station on DSM 7.2.2. It is a user-friendly bash script that downloads the necessary packages and installs them on your NAS. This allows you to restore the full functionality of Video Station and manage your media as usual.
Step-by-step installation guide
To restore the Video Station with the script on your Synology NAS, simply follow these steps:
Activate SSH access to the NAS:
- Make sure that SSH access is enabled on your Synology NAS. In the DSM user interface, go to Control Panel > Terminal & SNMP and enable the Enable SSH service option.
- Make a note of the IP address of your NAS and the user name you want to use to log in.
Access the NAS with SSH:
Use a terminal program (e.g. Terminal on macOS/Linux or PuTTY on Windows) to establish an SSH connection to your NAS. Enter the following command and replace IP-address-of-NAS with the actual IP address of your NAS:
ssh username@IP-Adress-of-NASDownload and execute the script:
If not already available, we create a “Scripts” folder:
sudo mkdir /volume1/scriptsAnd navigate to the folder you have just created:
cd /volume1/scriptsNow download the installation script directly from GitHub. Enter the following command in the terminal:
wget https://raw.githubusercontent.com/007revad/Video_Station_for_DSM_722/main/videostation_for_722.shThen grant the authorization to execute the script with :
chmod +x install.shStart the installation script:
sudo -s /volume1/scripts/videostation_for_722.shFollow the instructions on the screen to complete the installation.
After executing the script: Install HVEC extension

- Open Package Center > Installed.
- Click on Advanced media extensions.
- Click on Open.
- Click on Install and then on OK.
Check whether the installation was successful:
Once the installation is complete, you can start the Video Station as usual via the DSM interface. Check that all functions are available as expected.
Should I continue to use the VideoStation?
Synology has officially retired the VideoStation. This means that it will not receive any further function and security updates. Of course, you can still use the Video Station within your home network, but you should not make it publicly accessible. It is best to use one of the three maintained alternatives: Plex, Emby or Jellyfin.
