Some of the links shared in this post are affiliate links. If you click on the link and make a purchase, we will receive an affiliate commission at no additional cost to you.
How to connect to a Raspberry Pi via SSH: A step-by-step guide
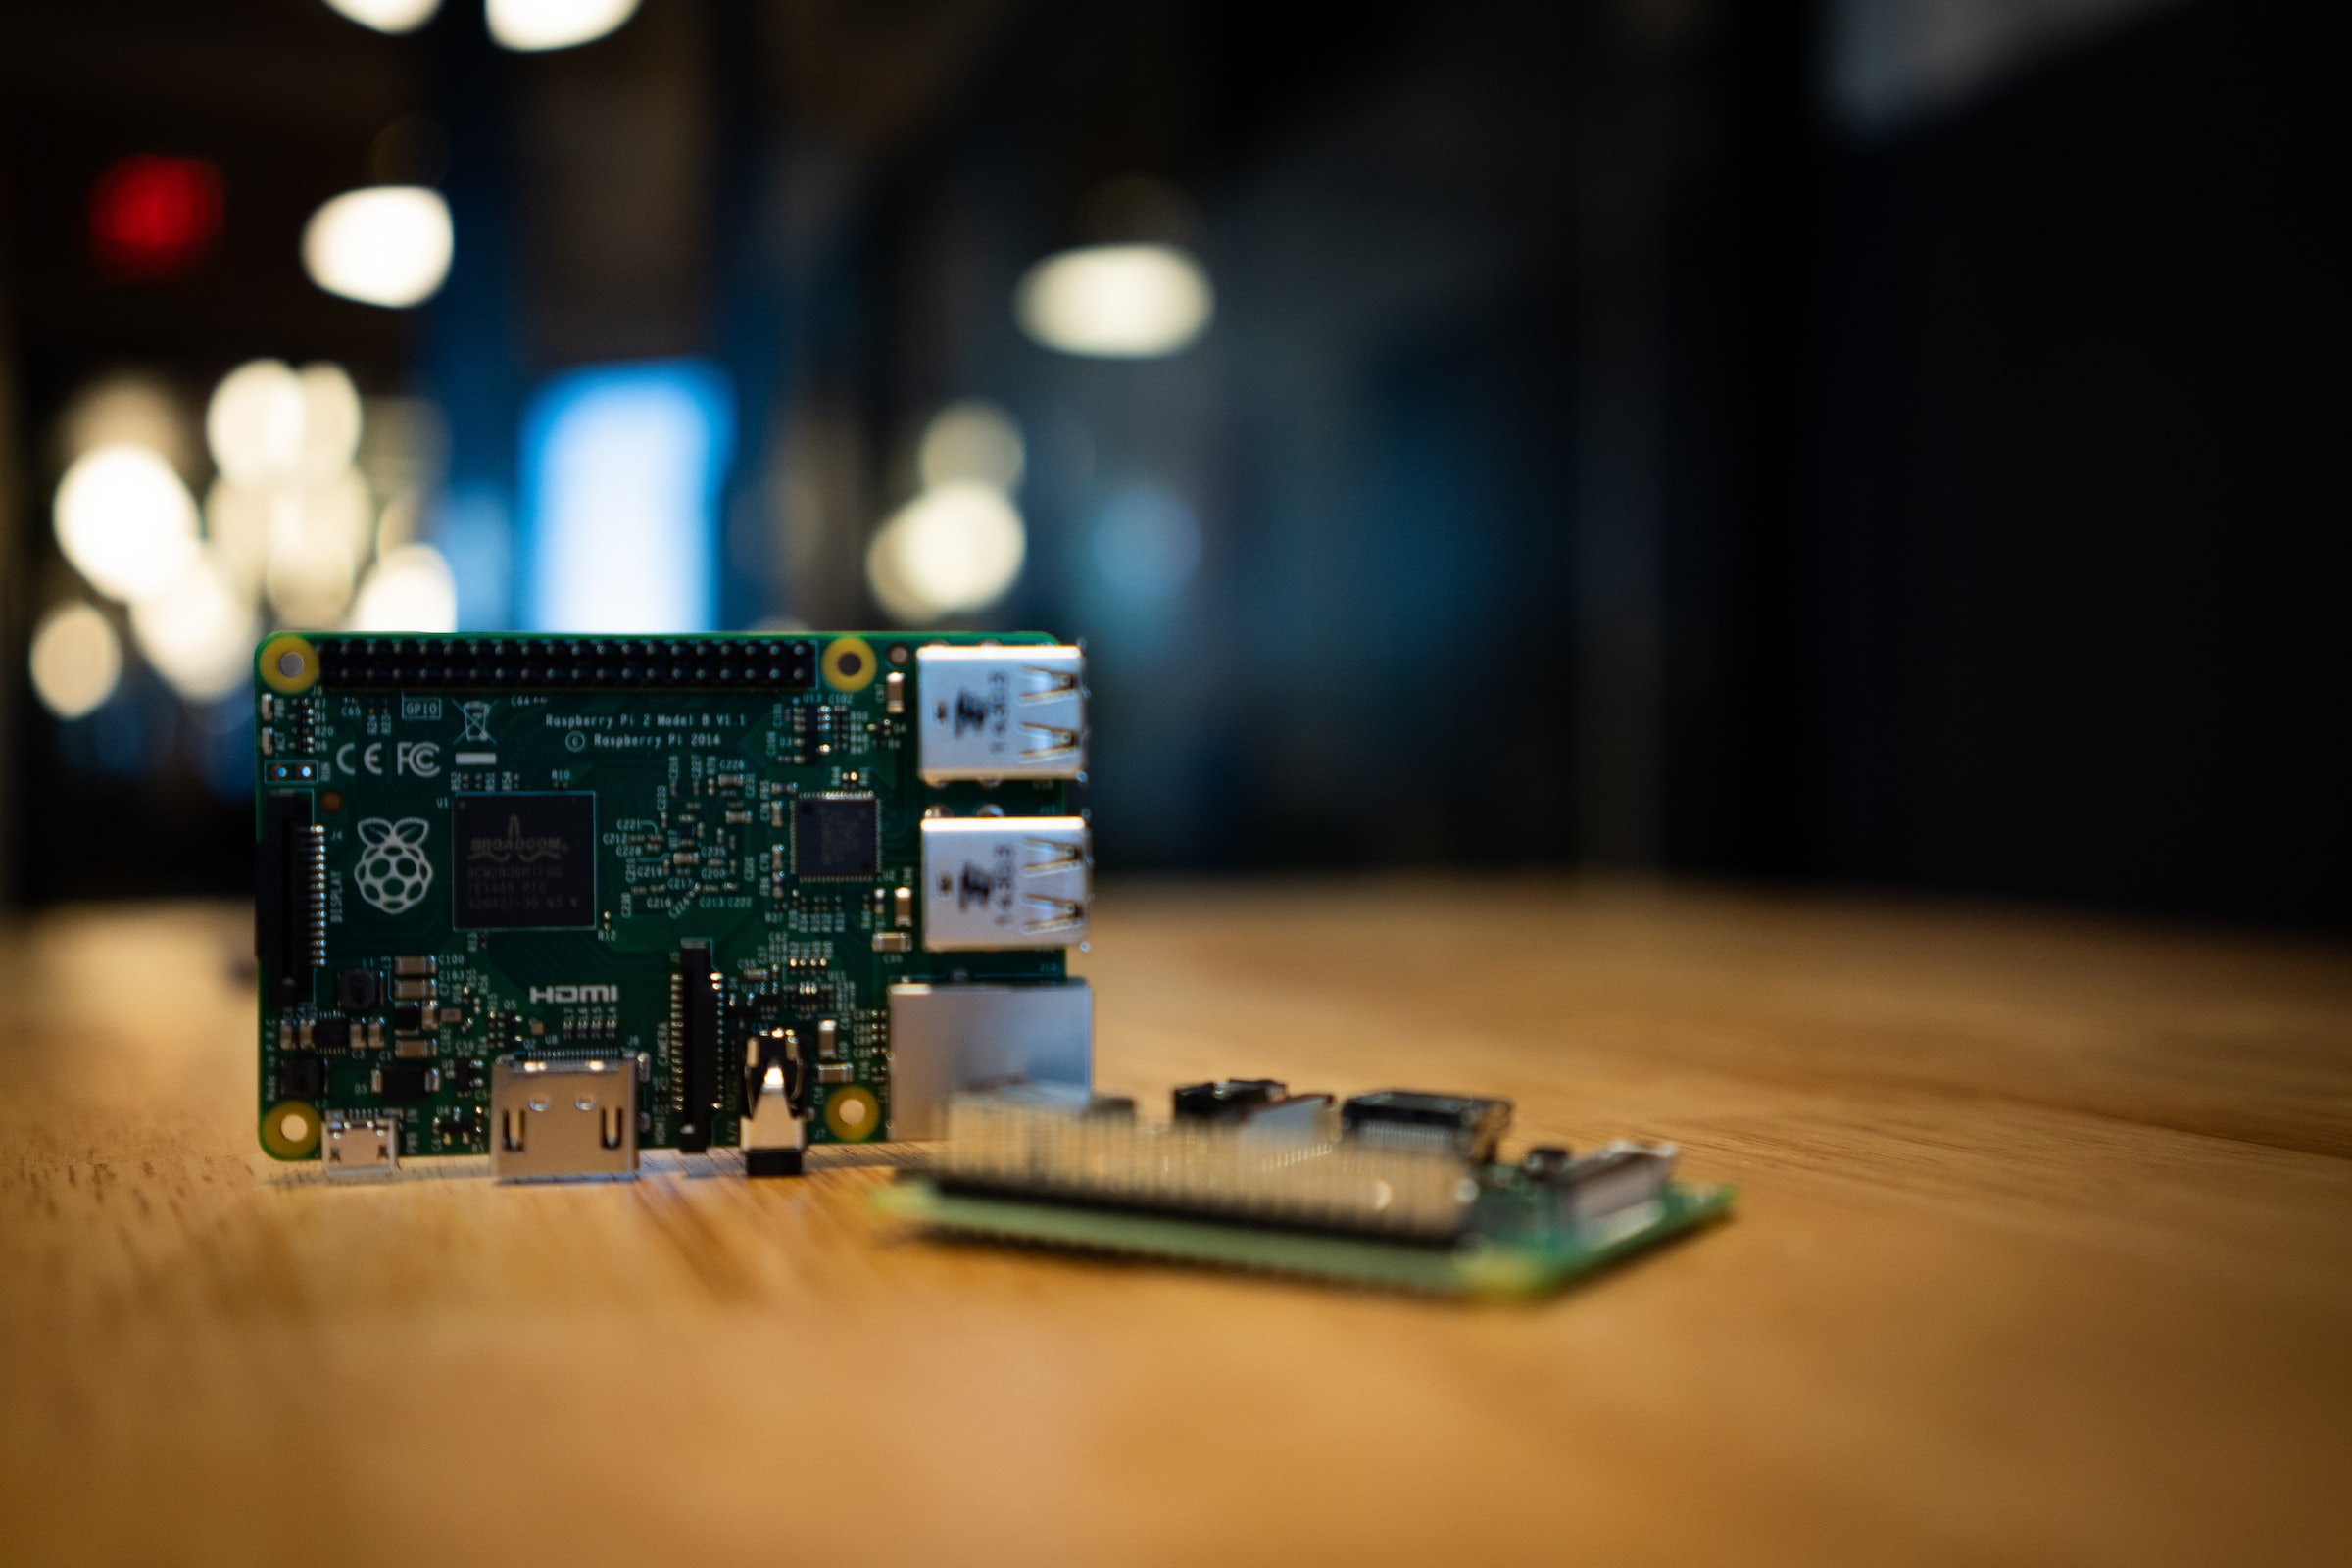
The Raspberry Pi is a versatile, low-cost single-board computer that is suitable for numerous projects. One of the practical features offered by the Raspberry Pi is the ability to connect to it via SSH (Secure Shell). This allows you to access the command line of the Raspberry Pi from another computer without having to be physically connected to the device. In this article, we will explain step by step how to connect to your Raspberry Pi via SSH.
Prerequisites
Before you start with SSH access, make sure you have the following things ready:
- Raspberry Pi: The Raspberry Pi should be correctly installed and booted.
- Network connection: Your Raspberry Pi should either be connected to the router via an Ethernet cable or connected via a WLAN network.
- SSH client: You will need an SSH client on your computer. Windows users can use PuTTY, while macOS and Linux users can use the integrated terminal.
Step 1: Activate SSH on the Raspberry Pi
SSH is disabled by default on the Raspberry Pi. You must enable it before you can connect.
Method 1: Via the configuration of the SD card (before the first start)
- Prepare the MicroSD card: When you set up your Raspberry Pi for the first time, insert the MicroSD card into your computer.
- Create SSH file: Create an empty file with the name
ssh(without file extension) in the root directory of the MicroSD card. This will activate SSH the next time you start the Raspberry Pi. - Reinsert the card: Reinsert the MicroSD card into the Raspberry Pi and start the device.
Method 2: Via the Raspberry Pi console
- Log in to the Raspberry Pi: Log in directly to the Raspberry Pi (either via a connected display and keyboard or via the console if you already have access).
- Activate SSH: Open the terminal and execute the following command:
sudo raspi-configNavigate to “Interfacing Options” and select “SSH” to enable SSH.
Step 2: Find out the IP address of the Raspberry Pi
To connect to your Raspberry Pi via SSH, you need the IP address of the device.
- Directly on the Raspberry Pi: Open the terminal and enter the following command:
hostname -IThe IP address is displayed.
- Via the router: You can also find out the IP address via the web interface of your router. Search for a connected device called “raspberrypi” or a similar name.
Step 3: Establish SSH connection
On Windows
- Download PuTTY: If you haven’t installed PuTTY yet, download it from the official website and install it.
- Start PuTTY: Open PuTTY.
- Configure connection:
- Enter the IP address of the Raspberry Pi in the “Host Name (or IP address)” field.
- Make sure that the port is set to 22 and the connection is set to “SSH”.
- Establish the connection: Click on “Open”. A new window will open and ask you to enter your user name and password.
- Log in: Enter the user name
piand the passwordraspberry(or your own password if you have changed it).
On macOS and Linux
- Open the terminal: Open the terminal.
- Use the SSH command: Enter the following command, replacing
usernamewith your username andIP_ADDRESSwith the IP address of your Raspberry Pi:
ssh username@IP_ADDRESSBy default, the user name is pi. If you use the default credentials, the command is:
ssh pi@IP_ADDRESS- Enter password: Enter the password when prompted. The default password is
raspberry, unless you have changed it.
Step 4: Use and safety
- Command input: After successfully logging in, you can enter commands directly in the terminal as if you were working on the Raspberry Pi itself.
- Security: Be sure to change the default password after the first login to increase security. You can do this with the
passwdcommand.
Accessing your Raspberry Pi via SSH is a convenient way to control and configure your Pi remotely. In just a few steps, you can enable SSH and establish a connection to use the full functionality of your Raspberry Pi. Whether you’re developing projects, installing software or simply performing maintenance tasks, SSH makes managing your Raspberry Pi efficient and easy.

