Some of the links shared in this post are affiliate links. If you click on the link and make a purchase, we will receive an affiliate commission at no additional cost to you.
WD My Cloud Home network storage often offers a lot of storage space at low prices. In the offer, the price per terabyte often falls below that of HDDs that you buy directly without an enclosure.
This guide will walk you through installing an alternative “operating system” for your Western Digital My Cloud Home. In this case, Debian and OpenMediaVault will be installed.
Why would I want to replace Western Digital’s software anyway?
Access to the storage is only possible with an active Internet connection and only via the official apps. There is no possibility to establish a local connection via common network protocols like SMB or FTP. SSH can also no longer be enabled, unlike the predecessor without “Home”.
Does this void my warranty and can I break something?
Yes, these instructions are an unofficial solution. You lose the manufacturer warranty. A backup of the possibly already existing data is mandatory, after the installation of Debian these are no longer readable.
It seems that new WD MyCloud Home come with a new software version that disables booting via USB. The suspected version is 7.16.0.-220.
What is required?
- One WD My Cloud Home
- A USB stick (at least 8GB) formatted to FAT32.
And this file:
Unzip and copy to the USB stick.
Installation
- Disconnect the WD My Cloud Home from the power supply.
- Insert the USB flash drive into the slot on the back.
- Using a paper clip/pin, press and hold the reset button in the small hole on the back (just above the USB port).
- Turn the power back on while continuing to hold the reset button.
- The WD will now boot up and flash for ~20s at first, then the light will be on solid.
- Only now, i.e. when the light is permanently on, release the reset button.
- You should already hear some data being written to the HDD. This will take about 1-2 minutes.
- Check your router, the system should now have been automatically assigned an IP. Also the network name has changed to wdnas.
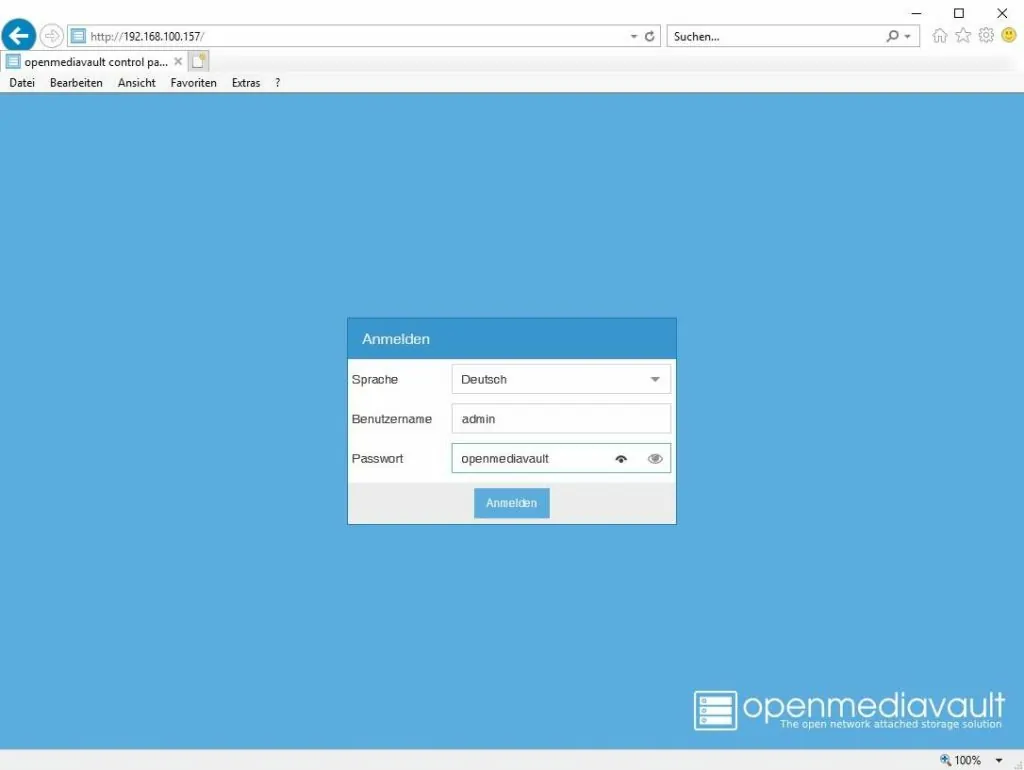
Under this IP (for you of course a different one) you can now directly access the configuration interface of OpenMediaVault shown above via browser. The access data are by default. (User: admin / Password: admin) SSH Login: User: root / Password: root


Doesn’t work for me 🙁
The light starts flashing, then stays on. I release the reset button and wait, but the device never gets an IP from the router. I guess the installation doesn’t run as planned.
Besides, I have the impression that when solid, the light is not as bright as in normal condition.
What can I try ?
Thanks,
Etienne
Got it! 🙂
After checking the router details, I found out that the device had a fixed IP. I deleted this setting, and the process worked on the first time.
Thanks!
hi.
how to install wham red power led is on.
j.
Hi,
Does it have a folder share permission for specific users?
Meaning, can i assign a specific users to specific folder life file server options .. or close?
Are there any ways to upgrade to the most recent omv? When i tried i ran out of storage in /var
I managed to enlarge the partitions “/”, “/var” and “/usr” by removing the hard disk from the WD device, mounting it within an other Linux pc and resizing all partitions with “gparted” on this PC.
After that I could manage to upgrade to Debian 11 but I couldn’t manage to install OMV 6 as the /usr and /var filesystems are still on a separate drive. When I move them to the root partition and remove them from /etc/fstab then they are still mounted after rebooting.
I don’t know where I can fix that!
thank you for the tutorial
worked from the first attempt
my cloud home is live and useful again
Is it possible to install this on My Cloud DL4100?
I keep trying but I get an error: Startup Failed 0xD9
Thank You this breathes some serious functionality in the WD NAS
Any chance of upgrading the kernel get plugins to work.
Don’t get me wrong: already as it is it is TOP!
Hi – is there anyway of using plex with this method? I know you can install it on debian – but not sure how when it’s on the MCH.
Thanks!
Does this work on WdMyCloud Gen 1?
I got it to work but i can’t connect via ip router shows me, i am 100% confident it is the right one but it just sends me to connection time out page. Router is configured with dynamic ip and dhcp is on and has reserved ip with nas. With dhcp off it still doesnt work.IP shows but cant acces panel.