Some of the links shared in this post are affiliate links. If you click on the link and make a purchase, we will receive an affiliate commission at no additional cost to you.
With the Unifi product range, Ubiquiti provides a centrally managed network environment for prosumer and small business / SME customers. The big advantage especially for home users: Many features, no license costs. The Unifi Dream Machine Pro SE is one of the UniFi OS Consoles.

A UniFi Console is a combination of router, firewall, Unifi Controller and, depending on the model, WLAN Access Point and NVR (Network Video Recorder). The UniFi Dream Machine Pro SE is intended for rack installation, therefore no WLAN access point is installed. All models support DPI(Deep Packet Inspection), a security feature that also provides interesting statistics.
Equipment
The UDM Pro SE, as the device is abbreviated, comes with a 2.5 Gbit, 10 GB SFP+ WAN, a Gigabit and a 10 GB SFP+ LAN port and an integrated 8 port PoE switch. It should be noted that the integrated 8 port switch is only connected to the CPU of the UDM PRO SE with 1 Gigabit. This can become a bottleneck, especially with a lot of LAN traffic. For this reason, an additional switch, such as the Unifi Switch 24 Pro, is recommended. There is also a 3.5 inch HDD bay and an internal 128GB SSD. The memory for Unifi Protect can be expanded using a 3.5-inch HDD, although the memory of the internal 128GB SSD cannot be combined with the additional HDD.
- WAN ports: (1) 2.5GbE RJ45, (1) 10G SFP+
- LAN ports: (8) GbE RJ45, (1) 10G SFP+
- Integrated 8-port PoE switch
- 128 GB of integrated storage
- (1) 3.5″ HDD bay for Unifi Protect
| Mechanical | |
|---|---|
| Abmessungen | 442.4 x 43.7 x 285.6 mm |
| Gewicht | 4.95 kg |
| Gehäusematerial | Aluminium CNC, SGCC steel |
| Mount material | SGCC steel rack mount |
| Hardware | |
| Prozessor | Quad-Core ARM® Cortex ® -A57 at 1.7 GHz |
| Arbeitsspeicher (RAM) | 4 GB DDR4 |
| On-board Speicher | 16 GB eMMC / integrierte 128 GB SSD |
| IDS/IPS durchsatz | 3.5 Gbps (Gemessen mit iPerf3) |
| Maximaler Stromverbrauch (ohne PoE) | 50W |
| Managementinterfaces | Ethernet Bluetooth |
| Netzwerk Interfaces | (1) WAN: 2.5 GbE RJ45 port (8) LAN: 1 GbE RJ45 ports |
| SFP+ interfaces | (1) WAN: 10G SFP+ (1) LAN: 10G SFP+ |
| PoE interfaces | (2) PoE+ IEEE 802.3at(pair A 1, 2+; 3, 6-) (6) PoE IEEE 802.3af (pair A 1, 2+; 3, 6-) |
| Max. PoE Watt pro port (PSE 802.3af 1) | 15.4W |
| Max. PoE Watt pro port (PSE 802.3at) | 30W |
| LCM display | (1) 1.3" touchscreen Bootup animation: bootup in progress Firmware upgrade icon: rmware upgrading |
The Unifi Dream Machine Pro SE runs a Linux distribution customized by Ubiquiti: UnifiOS. The various Unifi APPs run on this Linux: Network, Protect, Access, Talk, Connect and UID. In this review, I will focus on the Unifi Controller, i.e. the “Network” application and UID.
Setup of the Unifi Dream Machine Pro SE
The setup of the UDM PRO SE can be started very easily using the Unifi app or a laptop / PC via the web interface. Of course, the WAN connection must first be established for the setup. As the Unifi Dream Machine does not have its own modem, I have connected it to a Fritz Box. However, you can also use pure modems such as the Vigor models from DrayTek.
The device downloads updates automatically, installs them and restarts. Now you can connect to the UDM PRO SE via the IP address of the device or via unifi.ui.com if a cloud connection has been set up. If you open the Unifi Network Applications, i.e. the Unifi Controller, a dashboard opens with an initial overview:
Dashboard / Overview
General information about the UDM Pro SE is displayed on the left-hand side and below that about the Internet connection. This includes the Up Time, the “Internet Health” status bar and some ping times to popular services: Facebook, Google and Twitter. Clicking on “Internet Health” opens a menu that displays even more information such as the general ping (Cloudflare DNS), the utilization of the Internet line and the results of the last speed tests.
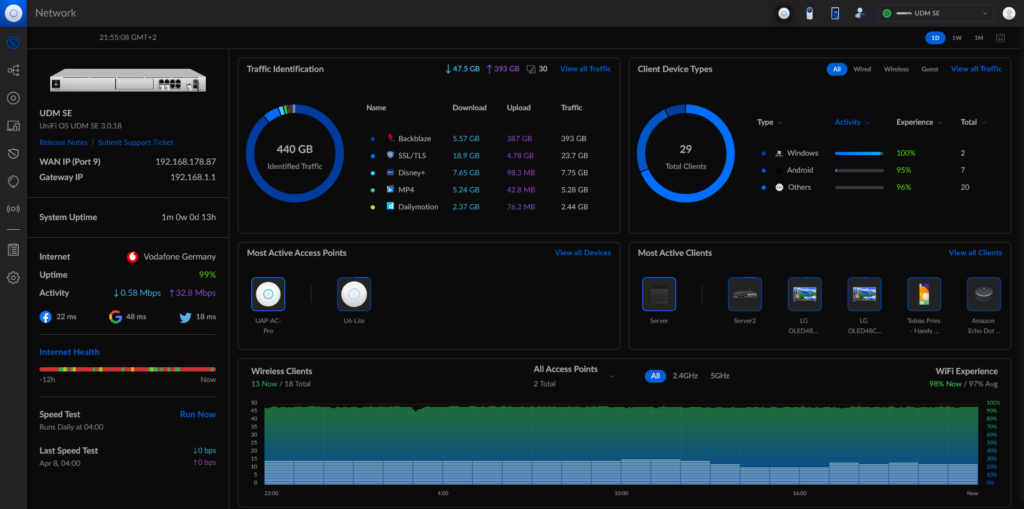
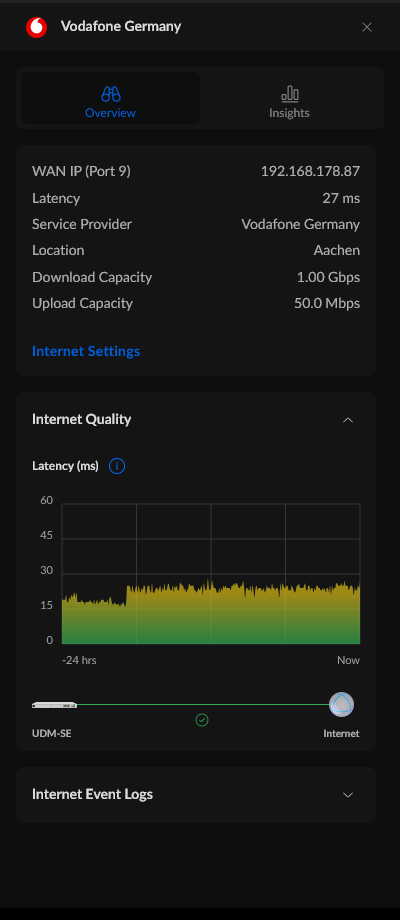
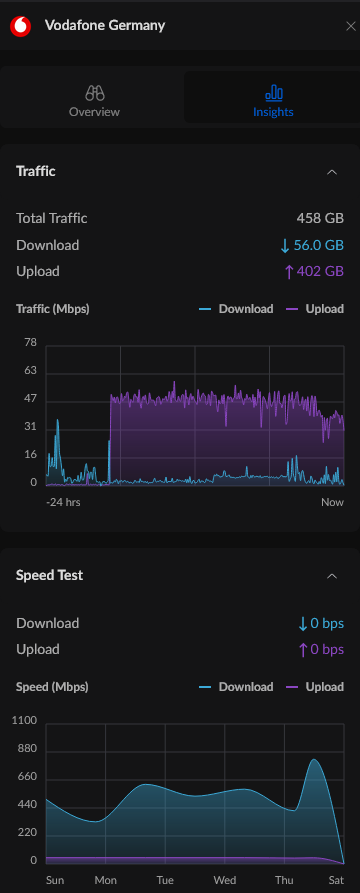
A summary of the results of the Deep Packet Inspection(DPI) is displayed to the right of this display. Here you can see how much traffic has been assigned to which service / company. The other four widgets should be relatively self-explanatory.
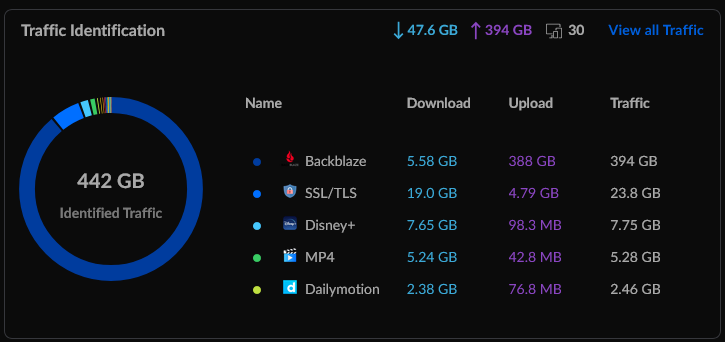
The ribbon on the left-hand side is divided into 9 points: Dashboard, Topology, Unifi Devices, Client Devices, Security Insights, Wifi Insights, HotSpot Manager, System Log and Settings.
The heart of a Unifi network
The Unifi Dream Machine Pro SE is the heart of the Unifi network, in this case actually only one network, because the UDM Pro SE is currently not yet multisite capable. So if you want to access a network at several locations, you have to rely on a Cloud Key and a Unifi Security Gateway. Even if the Unifi Dream Machine Pro SE supports an HDD for Unifi Protect, it is better to use a Unifi NVR if you have several cameras or if data integrity is important to you. Not only can several hard disks be accommodated there, they can also be created in a RAID. This means that the data is still available even if one hard disk fails. Of course, you can use a Unifi NVR together with the UDM PRO SE in a network.
Security: IPS & Firewall
As a so-called Next Gen Firewall, the Unifi Dream Machine Pro SE has an IDS (Intrusion Detection System) or IPS (Intrusion Prevention System). IDS notifies of an attack, IPS also defends the network. Both systems are based on DPI (Deep Packet Inspection). Each network packet is analyzed and assessed on the basis of its content to determine whether it is harmless or a potential threat. DPI is therefore not only responsible for a nice overview of network usage.
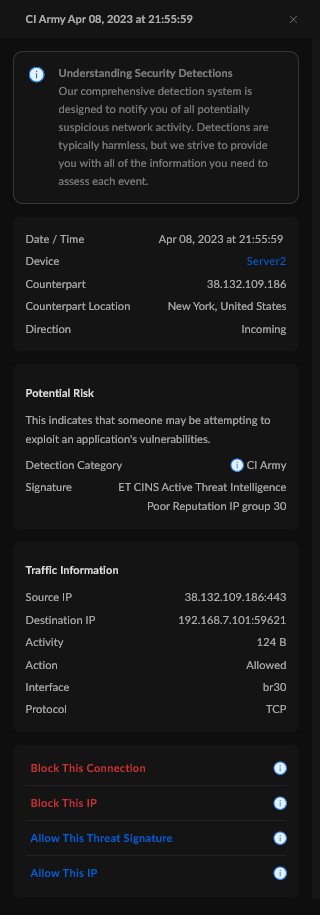
Unlike most other gateways / firewalls, the UDM PRO SE has few rules by default. If you create subnets, for example, these are not separated, so you have to specify the separation yourself. This can be done under the menu “Settings” and “Firewall & Security” where firewall rules can be created for local traffic within or between subnets and to the outside or from the outside to the inside. It is also possible to block entire countries or only allow certain countries.
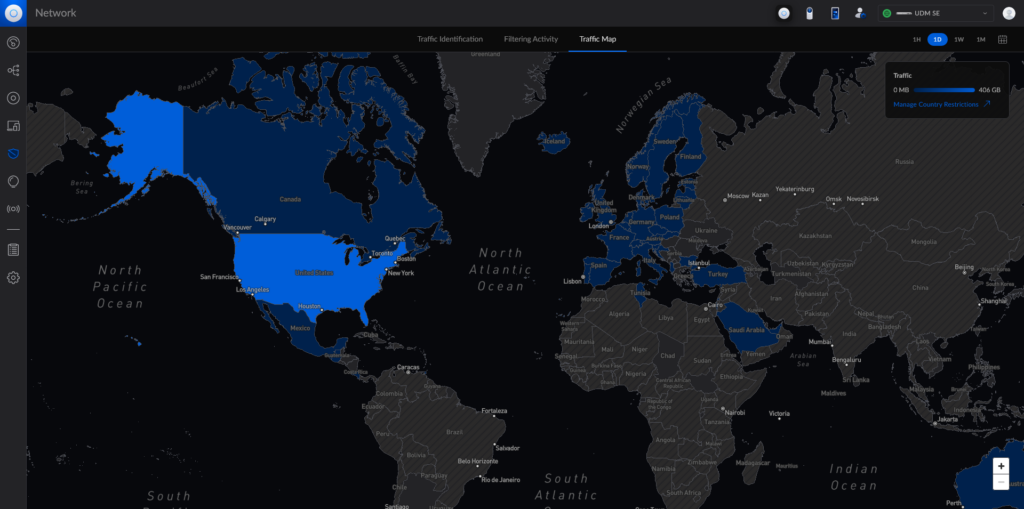
Here in Germany, I have only released the EU member states, the USA, Canada, Australia and Tunisia (due to a vacation and the use of Teleport, more on this later). So far I have not experienced any restrictions. The blocking of African countries and Russia in particular has led to a significant decrease in IPS events. It is therefore advisable to only unlock the countries that are really needed in order to block many attackers.
In addition to the usual firewall rules such as port forwarding, there is also the option to create honeypots. A honeypot presents itself as an attractive target for malware; if it is attacked, the IP of the attacker is logged and you can specifically take care of the respective client.
Traffic Management
With the UDM, we can not only allow, prohibit, filter and recognize our traffic, but also create routes for certain devices or services. The corresponding menu can be found under “Traffic Management” under “Settings”. With the rules we can allow, prohibit or limit the speed of certain services, with the routes we can route certain traffic e.g. via one of the two WAN ports or a VPN. It is possible to use VLans to connect an LTE / 5G router to any Unifi switch and route the signal through to the UDM Pro SE. This is exactly how the Unifi LTE Pro* works (display)
VPN
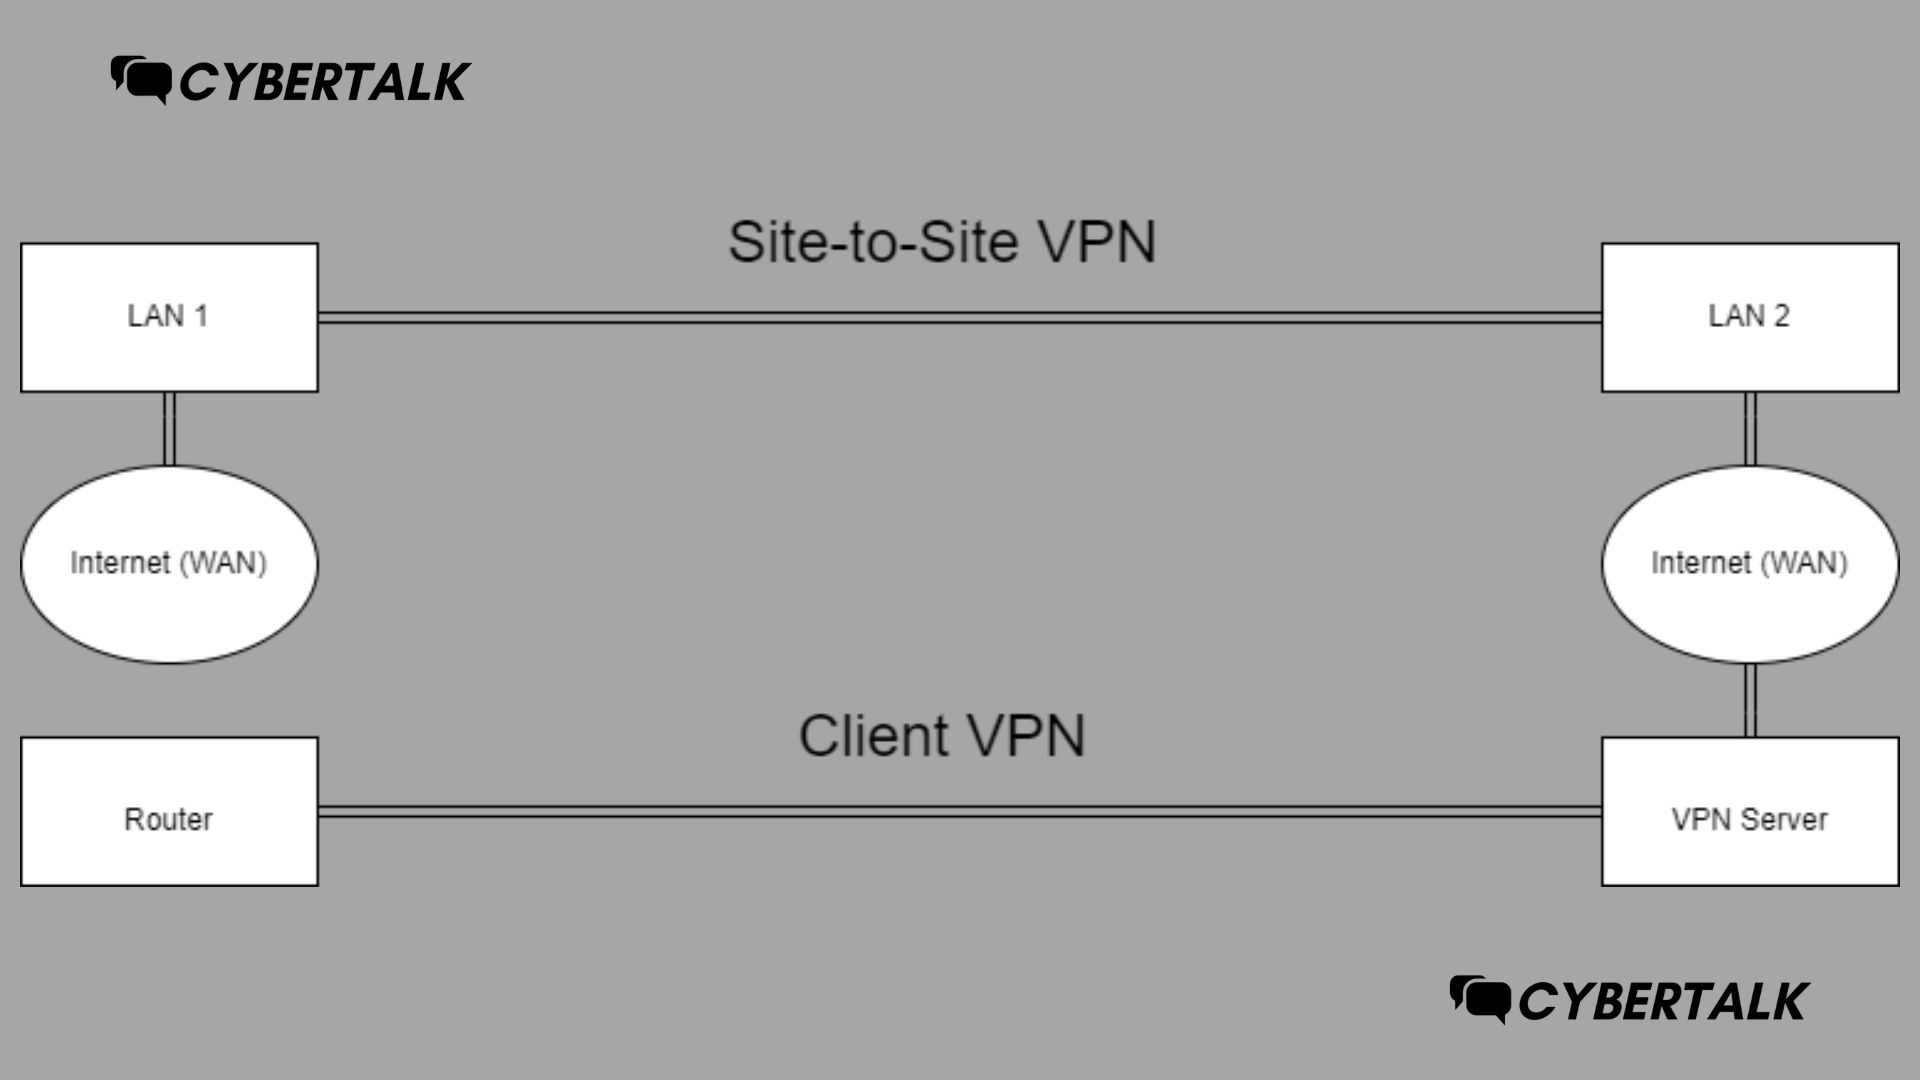
You heard right, a VPN! The UDM allows OpenVPN profiles to be stored as endpoints so that the traffic of an entire subnet, individual devices or a specific service is routed through the VPN. For example, I route the traffic of my guest WLAN through a VPN. Even if services such as illegal file sharing or peer-2-peer are of course prohibited, there is always a certain risk that a guest, possibly even unknowingly, will engage in illegal activities on the Internet using malware. For example, my private IP address does not appear in the logs of the services.

Teleport
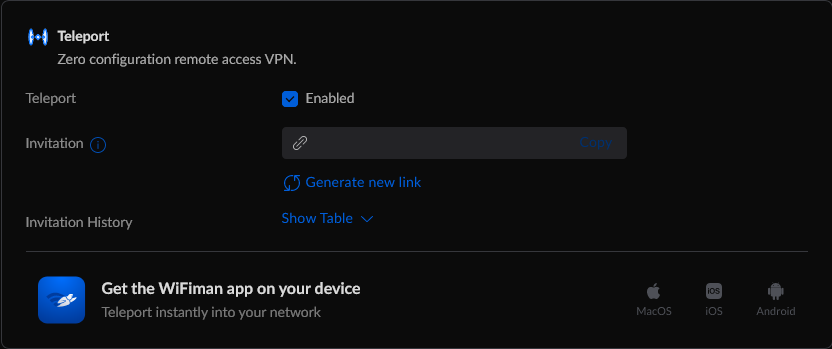
Teleport is the Zero Config VPN service that only needs to be activated. You download the WiFi Man app for Android, IOS and Macs with M1, M2 etc. via an invitation link and the VPN connection can be established. Unifi Teleport uses WireGuard.
More VPN servers
Of course, corresponding VPN servers based on the OpenVPN, WireGuard or L2TP protocol can also be activated simultaneously.

Conclusion
The Unifi Dream Machine Pro SE is a router with extended firewall functions and controller of the Unifi network. All Unifi components can be configured via the controller. The UDM is suitable for prosumers and network or IT enthusiasts who simply need more functions than the Fritz Box has. The Dream Machine is best combined with other Unifi products such as switches and access points.

