Some of the links shared in this post are affiliate links. If you click on the link and make a purchase, we will receive an affiliate commission at no additional cost to you.
Calibre Ebook Manager is a versatile, free tool for managing, converting and reading e-books. With Calibre you can organize your e-book collection, convert books into different formats, edit metadata and transfer e-books to different reading devices. In addition to the Calibre desktop program, there is also a web interface, Calibre Web, which can be used to access the Calibre database.

Install Calibre Web as Docker (Compose)
In the following I will explain how to install Calibre-Web as Docker (Compose) directly on a Linux host and via Portainer.
First of all, we need a Linux host on which Docker and Docker Compose are installed.
Install Calibre-Web as Docker-Compose
The instructions assume that you are already connected to your server via SSH. To install the Calibre web client as a Docker Compose, we need to create the Docker-compose.yml:
Step 1: Create Docker-Compose.yml
First, we create the folder in which we will install Calibre-Web:
mkdir /home/<username>/Calibre-webThere we create the Docker-Compose file with the Nano editor or use the Curl link (recommended) below to download the file directly.
nano docker-compose.ymlCopy the content (right-click) with Ctrl + O Save and then close the editor with Ctrl + X.
---
services:
  calibre-web:
    image: ghcr.io/linuxserver/calibre-web
    container_name: calibre-web
    environment:
      - PUID=1000
      - PGID=1000
      - TZ=Europe/London
      - DOCKER_MODS=linuxserver/calibre-web:calibre
    volumes:
      - <Path to Config Folder>:/config
      - <Path to Calibre Database Folder>:/books
    ports:
      - 8083:8083
    restart: unless-stopped

    networks:
  default:
    external:
      name: calibre-web_default
The docker-compose.yml can be downloaded directly with the following CURL command:
curl -O https://cybertalk.io/curl/dc/calibre-web/v1/docker-compose.ymlThe “Path to Config folder” and “Path to Calibre Database Folder” must be replaced accordingly. It is best to create new folders or set the path to the existing Calibre database. The database can also be located on an NFS / CIFS share.
Step 2: Create folder structure (optional)
The following folder structures are intended as examples, but can be adopted as they are:
Switch to super user (root):
sudo suThen we create a folder with the name “Calibre” in the home folder of our own user. “” must be replaced by your own user name.
mkdir /home/<username>/CalibreThen we switch to the folder we have just created:
cd /home/<username>/CalibreAnd create two more folders there: one for the config data and one for the Calibre database. As already mentioned, the path can also refer to the existing database.
mkdir /configmkdir /BooksStep 3: Customize Docker-Compose.yml
First we switch back to the Calibre web folder:
cd ../nano docker-compose.ymlNow we replace the two paths to the folders that we have just created or to our own existing paths. Example of the customized Docker-compose.yml:
---
services:
  calibre-web:
    image: ghcr.io/linuxserver/calibre-web
    container_name: calibre-web
    environment:
      - PUID=1000
      - PGID=1000
      - TZ=Europe/London
      - DOCKER_MODS=linuxserver/calibre-web:calibre
    volumes:
      - /home/<username>/Clibre-web/config:/config
      - /home/<username>/Clibre-web/Books:/books
    ports:
      - 8083:8083
    restart: unless-stopped

    networks:
  default:
    external:
      name: calibre-web_default
Press Ctrl + O to save and then press Ctrl + X to close the editor.
Step 4: Start Docker-Compose
Now we start the Docker-Compose with the following command:
docker-compose upStep 5: Call up the Calibre web interface
To access the Calibre web interface, we enter the IP address of the server / host followed by the port defined in the Docker-Compose file: 8083
http://Ip-adress:8083
Then the login page of Calibre-Web appears where we can log in using the following standard login data:
- Username: admin
- Password: admin123
The username and password should be changed in any case, especially if the Calibre web instance is to be publicly accessible.
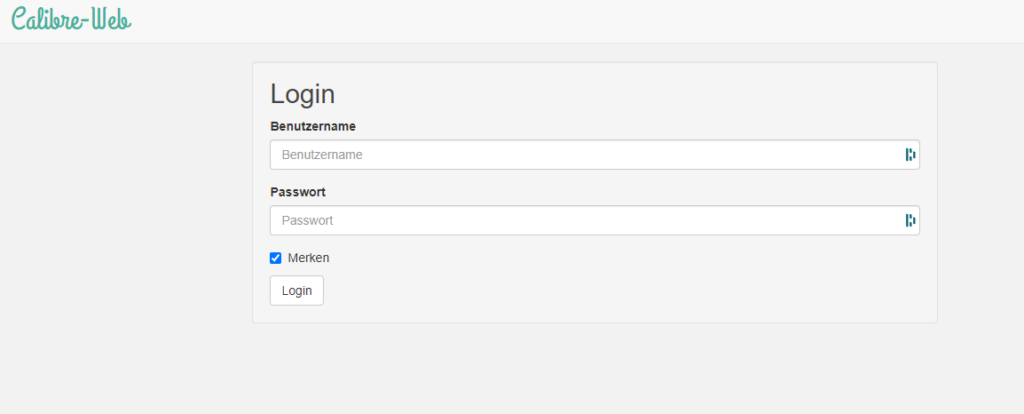
After logging in, the path of the database is entered. Here we select /Books.
The installation is now complete.
Install Calibre-Web with Portainer
I assume an already functioning Portainer installation.
Step 1: Create folder structure
If we have not already created a folder structure for Calibre, we must first create it as described in step 2 above.
On the Portainer web interface, we click on the “Stacks” item in the left-hand menu.
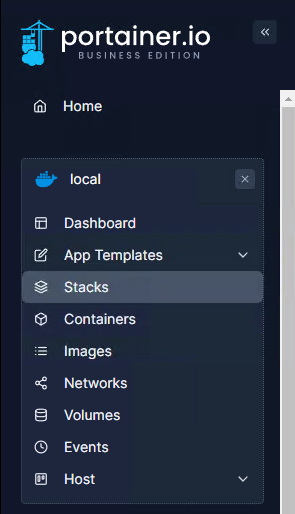
And then click on the ” + Add Stack” button (right-hand side)

There we enter a name for the stack and insert the Docker compose in the large text field. Of course, the paths must be replaced:
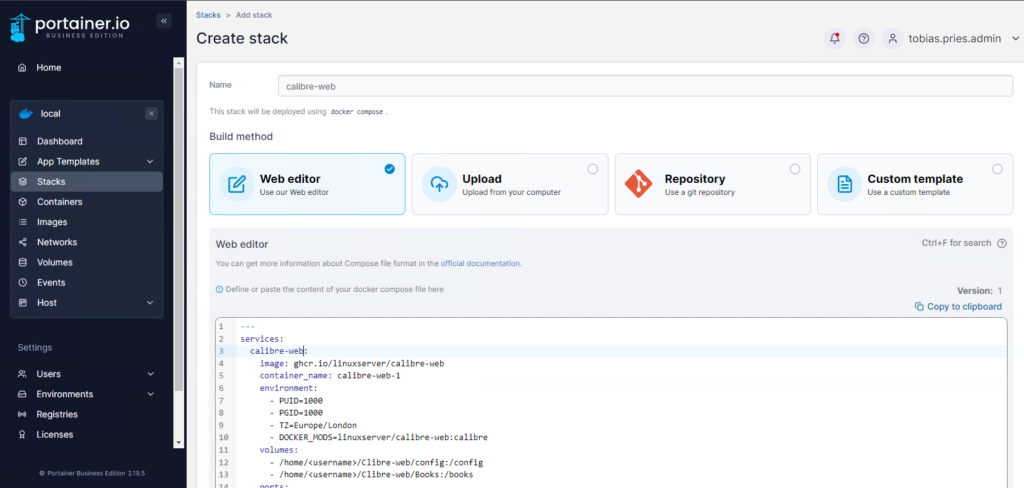
Click on “Deploy the Stack” to download and start the images. After a few minutes you can access the web interface as described in step 5 above.
